Swapcard is an end-to-end event platform for virtual and hybrid events. It allows you to embed an external video player. This way you can easily integrate Clevercast’s multilingual live streaming player into your Swapcard events.
This tutorial explains how to embed our player in Swapcard. This is possible for both multilingual live and simulive events. For setting up and managing such events in Clevercast, see our solution pages and manuals.
Note: the tutorial assumes you know how to use Swapcard. If this is not the case, first take a look at Swapcard’s documentation.
Event configuration in Clevercast
Before you can embed our player in Swapcard, you need to create an event in Clevercast. Make sure to select the right broadcast protocol (e.g. SRT/RTMP for Translate@Home, SRT multilingual broadcast, …) when creating the event in Clevercast. All other aspects of the event can be modified afterwards (e.g. choosing the languages, modifying the player profile, setting an image before the live stream…).
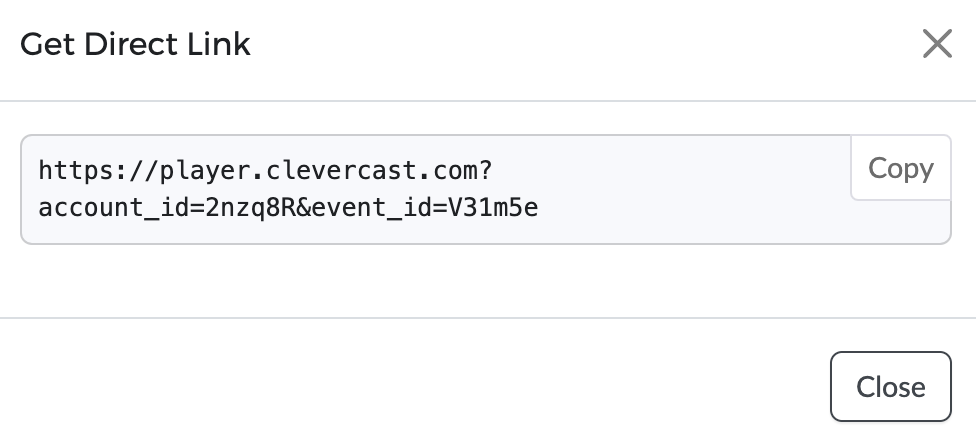
Once the event is created, press the ‘Get Direct Link‘ button in the Embed Code panel. In the Get Direct Link popup dialog, just copy the player link. You will use this link to embed the player in Swapcard.
If you have multiple live sessions in Swapcard, you can either create separate events in Clevercast, or reuse the same event. Note: using separate events has the advantage that you will have separate statistics in Clevercast for each session.
Swapcard configuration
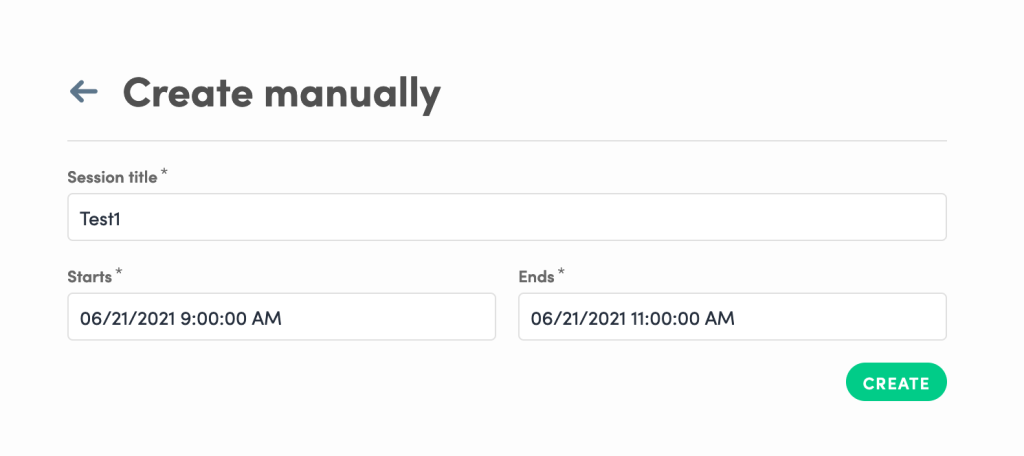
1. In your Swapcard event, create a live session.
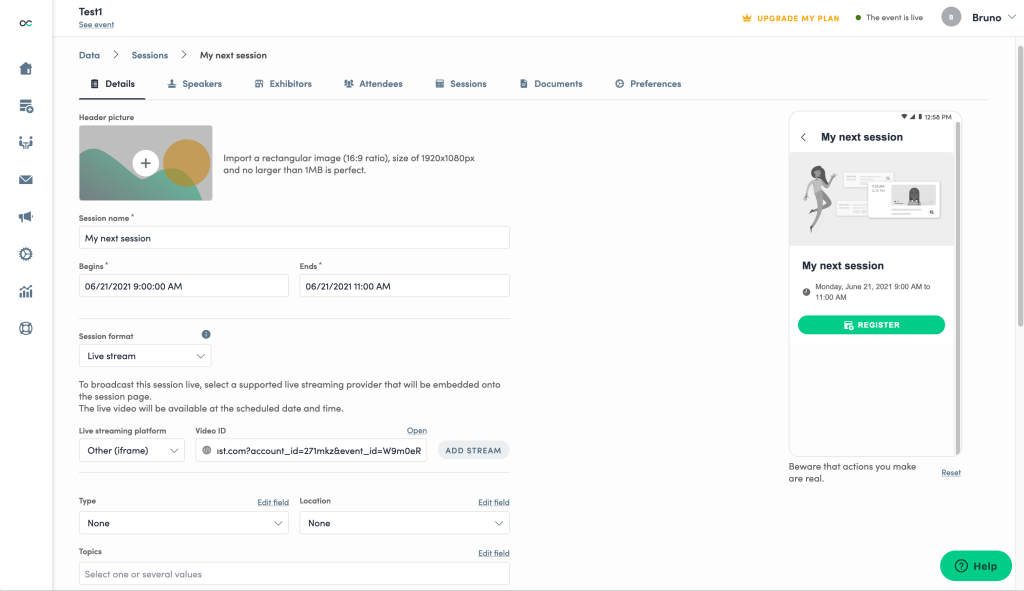
2. On the session page, select ‘Live Stream’ as the ‘Session format‘. Select ‘Other (iframe)’ as the ‘Live Streaming Protocol‘ and paste the direct link from Clevercast into the ‘Video ID‘ field. Then press the Add Stream button, which will allow you to set the availability start and end date of the live session.
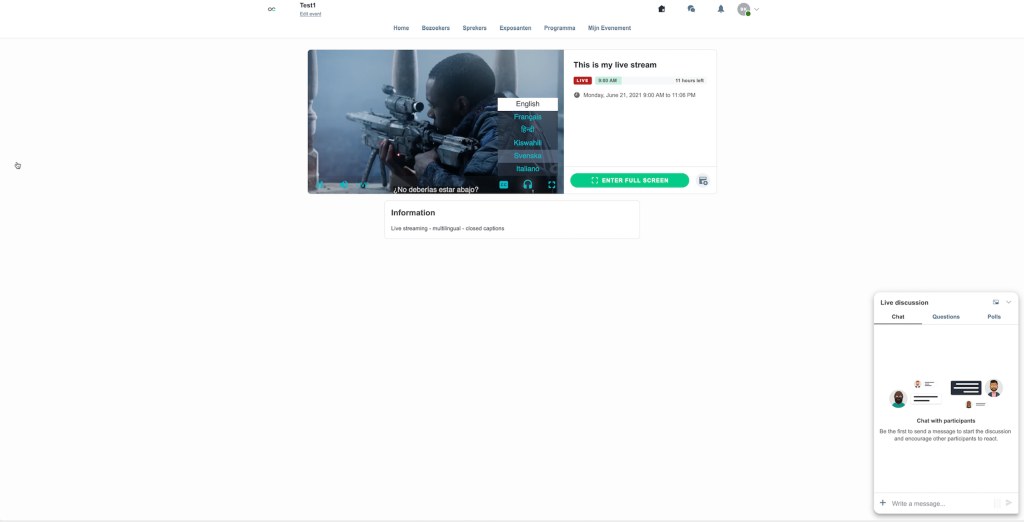
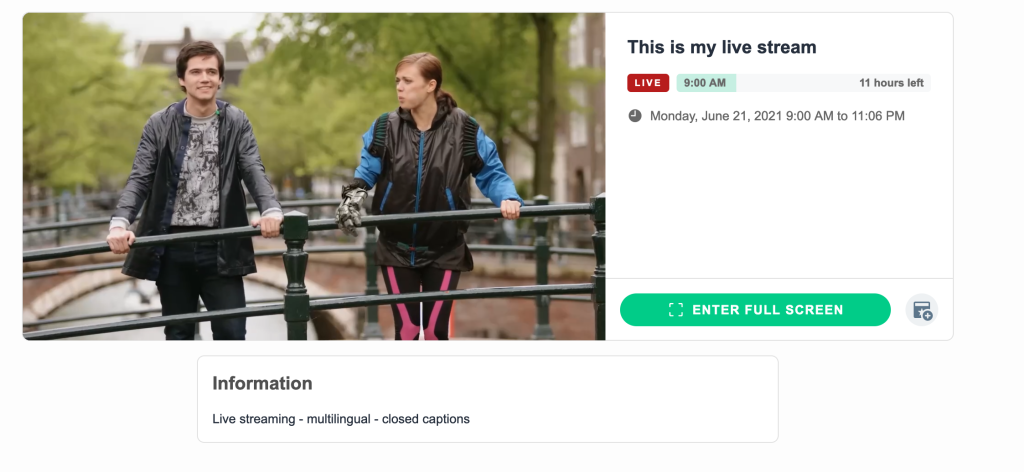
3. You can now preview the Swapcard session. By default, the player canvas will be black with the message ‘Waiting for livestream‘. You can change by uploading a custom image or setting a custom message in Clevercast. You can also preview the live stream: start a broadcast and press ‘Start Event‘ in Clevercast to see the stream in Swapcard. When you’re done testing, just reset the Clevercast event to waiting.
4. Before the real session begins, start your broadcast and set the event status in Clevercast to preview (in case of a livestream, in case of a pseudo-live stream you just have to schedule it at the right time). The preview status allows you to monitor the live stream in Clevercast, while your viewers in Swapcard still see the preview image (or message) you set. When you want your viewers to see the livestream, press ‘Start Event‘ in Clevercast (make sure to do this a minute before people start speaking, so everyone gets to see the start).
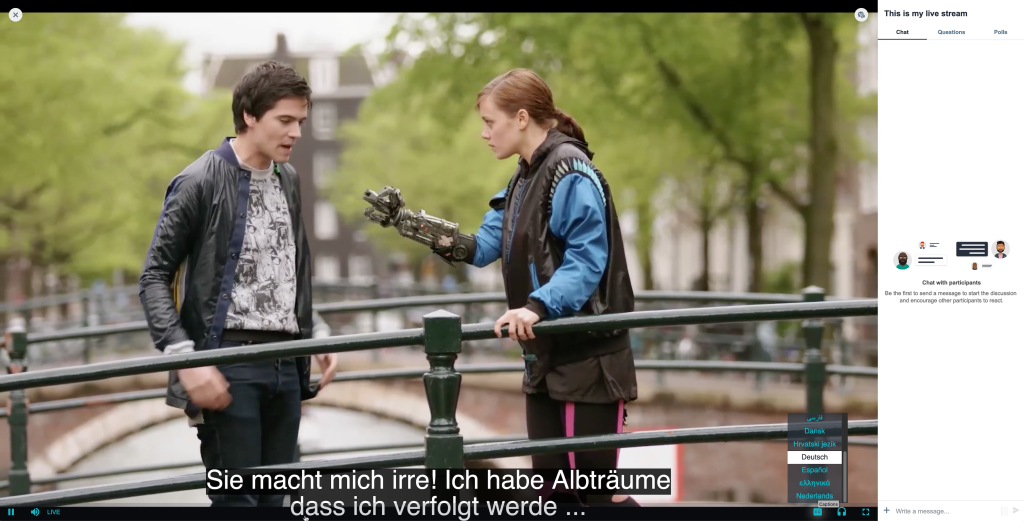
Clevercast does server-side transcoding (in real time) of your live broadcast to allow for adaptive live streaming in multiple resolutions. When a viewer decides to watch full screen, Clevercast player automatically switches to the highest available resolution (full HD by default).
5. When the live session ends, set the Clevercast event status to Ended (do this about a minute after the live action ends, because of HLS latency). The player will automatically switch to the ended image (or message) that you have set in Clevercast.